Key Takeaways
-
The final walkthrough is your last chance to verify that the home’s condition matches what you agreed to in the purchase contract.
-
Skipping it can lead to unexpected repairs, missing items, or legal disputes that delay or even derail closing.
The Final Step Before Ownership
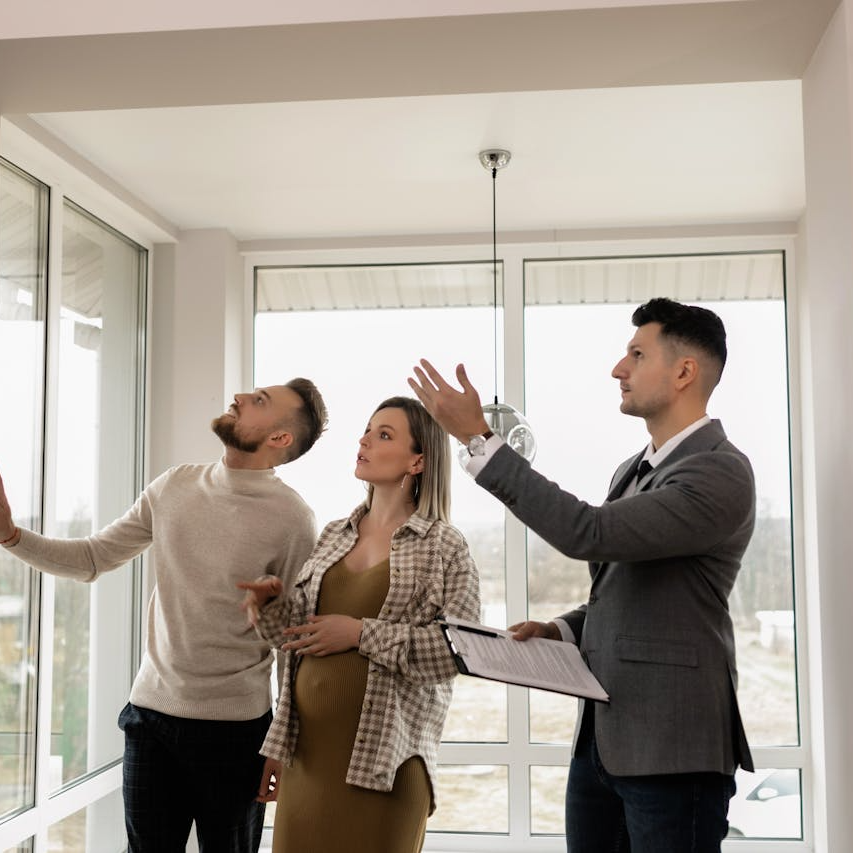
When you reach the final stretch of buying a home, it might feel like everything is done. The inspections are complete, your financing is approved, and the closing date is set. But before you sign that last page, one critical step remains: the final walkthrough. This visit, typically done within 24 to 48 hours before closing, ensures that the property you’re about to own matches the condition and terms outlined in your contract.
The walkthrough is not a formality. It is your last safeguard to confirm that repairs have been made, systems are functioning, and the seller has left the home in the agreed-upon condition. Even seasoned buyers can be caught off guard by issues discovered at this stage.
What Is The Purpose Of A Final Walkthrough?
A final walkthrough allows you to verify that:
-
The home is in the same condition as when you last saw it.
-
All requested repairs from the inspection have been completed.
-
The seller has removed all personal belongings unless otherwise agreed.
-
Essential systems such as plumbing, electrical, and HVAC are operational.
-
No new damage has occurred since the inspection.
Essentially, this step protects you from inheriting unexpected problems or costs after closing.
When Should You Schedule The Walkthrough?
The walkthrough usually occurs within 24 to 48 hours before closing. This window allows enough time to identify issues while still close enough to the signing date for an accurate assessment. If you are buying a newly built home, you might conduct two walkthroughs: one a week before closing to flag issues and another immediately before signing to confirm corrections.
If the seller is still moving out, scheduling flexibility is important. Ensure the walkthrough happens after the seller vacates so you can see the home in its final state.
What Should You Bring To The Walkthrough?
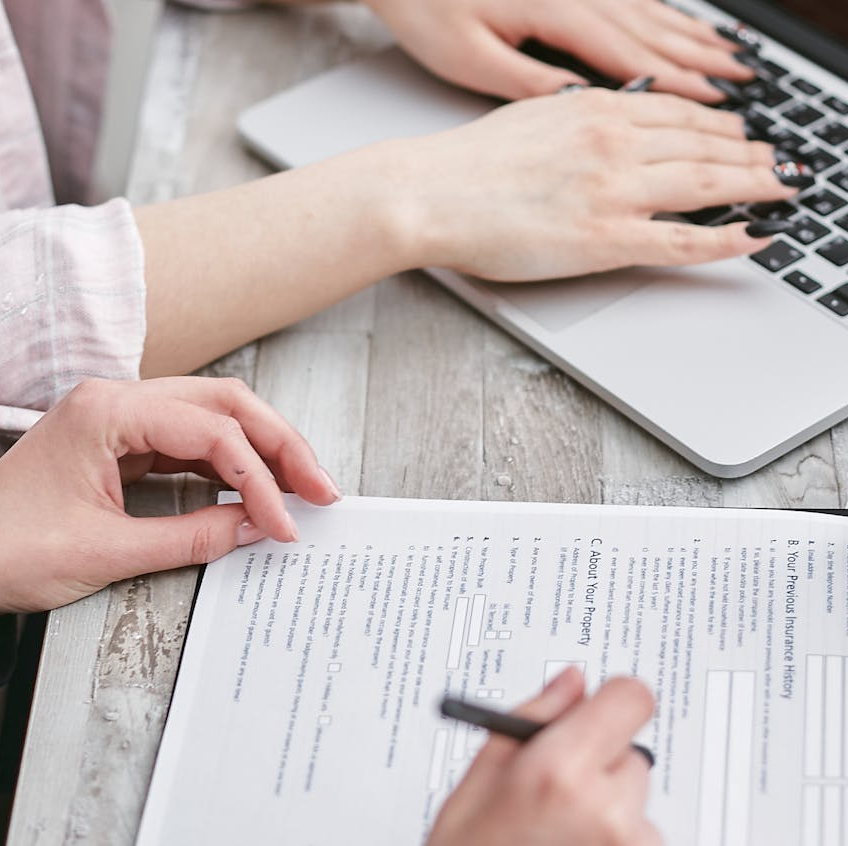
Come prepared. A thorough walkthrough takes about 30 to 60 minutes, depending on the size of the home. You should bring:
-
Purchase agreement: To confirm everything agreed upon is present.
-
Inspection report: To verify that repairs were made.
-
Repair receipts or documentation: Proof from the seller that work was completed.
-
Checklist: A printed list of key items to inspect, from appliances to doors.
-
Your agent: A licensed agent helps catch details you might overlook.
What Should You Check During The Walkthrough?
Approach the walkthrough like a structured inspection rather than a quick tour. Pay attention to the following:
1. Structural And Cosmetic Condition
Look for signs of new damage such as wall holes, scratches, or flooring issues. Verify that all fixtures, lighting, and built-in features remain in place.
2. Systems And Appliances
Turn on every faucet, light switch, and appliance. Flush toilets, run the dishwasher, and check the water heater. Test the heating and cooling systems. Ensure nothing was damaged or removed since your last visit.
3. Repairs And Replacements
If repairs were negotiated, confirm completion and quality. Ask for documentation from licensed contractors where applicable. Do not rely on verbal confirmation.
4. Safety Features
Check smoke detectors, carbon monoxide alarms, and locks. Ensure garage door openers, security systems, and outdoor lighting function properly.
5. Cleanliness And Debris
The home should be broom-clean at minimum. Confirm that all seller possessions and trash are removed unless otherwise agreed.
What If You Find Problems During The Walkthrough?
If you uncover issues, stay calm but act immediately. You have several options depending on the severity:
-
Delay the closing until the problem is fixed.
-
Request a financial credit at closing to cover repair costs.
-
Hold funds in escrow until the seller completes the work.
Minor issues, such as a missing lightbulb or uncleaned carpet, can often be settled through your agent. However, significant problems like water leaks, missing appliances, or incomplete repairs may justify postponing the signing.
Document everything with photos and written notes. Having your agent present ensures that findings are properly communicated to the seller’s side.
What Happens If You Skip The Walkthrough?
Skipping the walkthrough can have costly consequences. You might discover after moving in that an agreed-upon repair was ignored or that an appliance no longer works. Once closing is complete, the seller is no longer responsible unless you can prove intentional misrepresentation, which is difficult and time-consuming.
Common post-closing surprises include:
-
Broken HVAC systems.
-
Removed fixtures or appliances.
-
Hidden damage from recent moves.
-
Leaks or plumbing issues.
-
Debris left behind in garages or basements.
The walkthrough minimizes these risks by confirming the home’s readiness before ownership transfers.
How Does The Final Walkthrough Differ From The Home Inspection?
The inspection occurs earlier in the buying process and focuses on uncovering hidden defects and evaluating the home’s condition. The walkthrough happens just before closing and ensures that the seller addressed any issues identified during the inspection.
During inspection, you discover problems. During the walkthrough, you verify that solutions were delivered.
How Can A Licensed Agent Help During The Walkthrough?
Your agent is not just a formality; they are your advocate. A licensed agent:
-
Reviews repair documentation.
-
Ensures the seller met contractual obligations.
-
Helps negotiate immediate fixes or financial credits.
-
Documents any discrepancies for legal protection.
Having an agent present can save you from signing documents prematurely. They provide guidance if disagreements arise and ensure you do not overlook important details in the excitement of closing.
What Are Common Mistakes Buyers Make During The Walkthrough?
Even experienced buyers sometimes overlook critical details. Common errors include:
-
Rushing the process or skipping it entirely.
-
Failing to test all systems and appliances.
-
Ignoring minor defects that later become costly.
-
Forgetting to verify that negotiated repairs were done.
-
Assuming the seller left behind warranties or manuals.
Take your time. A half-hour now can prevent thousands in repairs later.
How To Handle A Tenant-Occupied Or Estate Sale Property
In cases where the property is tenant-occupied or part of an estate, additional diligence is needed. The previous occupants may not prioritize property condition. Coordinate with your agent and the seller’s representative to ensure access and clear expectations.
If tenants remain, confirm move-out dates and cleanliness standards. For estate sales, verify that all personal items and furniture are removed before closing.
When Is A Second Walkthrough Necessary?
If significant repairs were made or if the first walkthrough revealed problems, schedule a second walkthrough. This should occur within 24 hours of closing after the seller confirms corrections. The goal is to verify that no new issues emerged and all agreements were fulfilled.
Why Skipping The Walkthrough Can Cost You More Than Time
Missing this final step could turn your closing day into a stressful experience. Issues left unchecked can lead to unexpected expenses, from repairing HVAC systems to cleaning up after sellers. Worse, disputes can delay your move-in or require legal intervention.
The walkthrough is your best protection. It ensures transparency and provides peace of mind that your investment is secure.
Ensuring Confidence On Closing Day
The homebuying process involves many moving parts, but the final walkthrough gives you control at the most critical moment. Approach it with care, preparation, and the support of a licensed agent listed on this website. It confirms that your new home meets expectations and allows you to sign with confidence, knowing you are getting exactly what you paid for.