Key Takeaways
- Buying a home solo can save on commission but demands thorough preparation, research, and paperwork management.
- Independent buyers must understand risks, familiarize themselves with contracts, and know when to seek professional help.
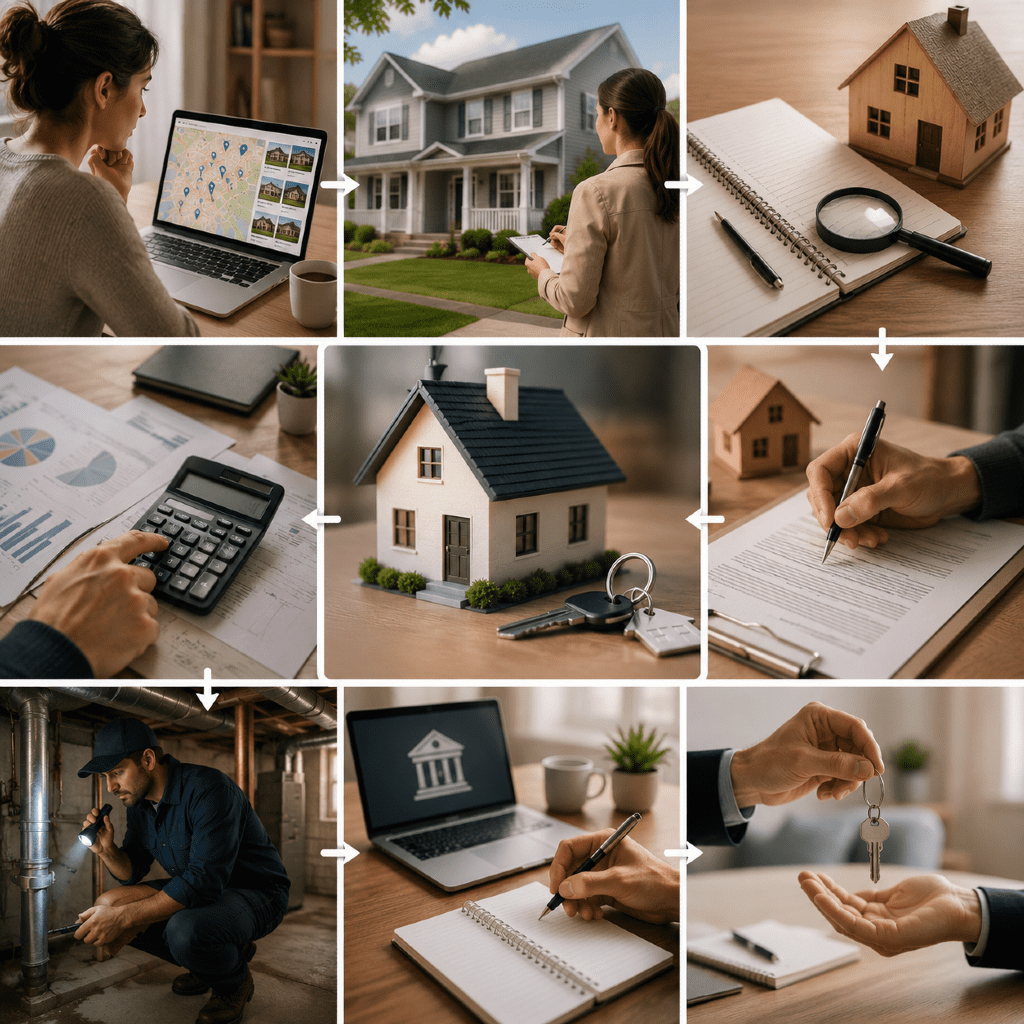
Do you want to buy a home without the help of a traditional real estate agent? Many individuals succeed in solo home buying by preparing in advance and carefully handling every step themselves. Here, you’ll find seven essential steps to guide you through the process while managing all the necessary paperwork.
Why Buy Without a Realtor?
Potential benefits and challenges
Buying a home without a realtor can have advantages. You could save on commission fees and may gain a deeper understanding of the transaction. However, it also comes with significant challenges, such as extra paperwork, time investment, and taking on all responsibilities yourself.
When it makes sense
Going solo often makes sense if you already have experience with real estate, feel confident managing contracts, or are buying from a trusted seller. Some buyers also choose this route when purchasing from someone they know or when homes are being sold directly by owners.
Risks and responsibilities to consider
Without a realtor guiding you, you must manage due diligence, negotiations, and legal documents independently. There’s increased risk of missing important disclosures or misunderstanding key terms. Always be aware that the responsibility for every detail rests on your shoulders.
Step 1: Assess Your Financial Readiness
Understanding your budget
Start by evaluating your budget in detail. Consider your income, existing debts, and how much you can allocate toward a down payment. Use online tools or calculators to estimate your price range.
Pre-approval and documentation
Obtaining mortgage pre-approval gives you a clear view of your purchasing power and reassures sellers of your credibility. You’ll need to gather documents like proof of income, tax returns, and credit statements for a lender’s evaluation. Remember, pre-approval is not a guarantee but an important first step.
Assessing ongoing homeownership costs
Beyond the purchase price, factor in property taxes, insurance, maintenance, and unexpected repairs. Planning for these costs helps ensure affordability over the long term.
Step 2: How Do You Find Listings?
Using public listing websites
Explore homes through major public listing platforms and online classifieds. Set up alerts so you’re promptly notified when new properties matching your needs are available.
Attending open houses
Visit open houses as a way to tour homes without needing an agent’s appointment. Be proactive: bring a checklist, take notes, and ask questions directly to sellers or their representatives.
Researching local property records
Local government websites and county offices often provide property details, sales history, and ownership records. Researching these can help you uncover more information about a home’s background and value.
Step 3: Visiting and Evaluating Properties
Scheduling viewings yourself
Contact sellers directly to set up viewings. When arranging showings, be courteous and flexible. Ensure you have a system to track appointments and feedback.
What to look for during visits
During visits, assess the home’s condition, layout, and immediate neighborhood. Look for signs of deferred maintenance, structural concerns, and the age of key systems like roofing and HVAC.
Red flags and disclosure forms
Be alert for red flags such as water damage, foundation cracks, or obvious repairs. Sellers are generally required to provide disclosure forms stating known issues. Review these carefully and follow up with questions if something isn’t clear.
Step 4: Making an Offer Without a Realtor
Drafting a purchase offer
Research state-specific residential purchase agreement forms. Fill in essential details: your offer price, proposed timeline, any contingencies (such as financing or inspection), and earnest money terms.
Communicating with the seller directly
You’ll handle all communications yourself. Make your offer in writing, be polite, and respond quickly to questions or counteroffers. Keep written records of all correspondence.
Negotiating terms and contingencies
Be prepared to negotiate price, closing costs, and deadlines. Both buyer and seller can suggest adjustments, so stay flexible yet clear about your limits. Clearly state any contingencies to protect your interests.
Step 5: What Paperwork Is Required?
Necessary contracts and disclosures
The purchase agreement, seller disclosures, lead-based paint disclosure (for older homes), and any addendums or rider documents are commonly required. Check your state’s requirements and ensure all paperwork is filled out accurately.
Understanding title and escrow
Title companies help verify legal ownership and ensure there are no liens or claims that could affect the sale. Escrow providers act as neutral third parties, holding funds and documents until the transaction is ready to close.
When to consult an attorney or expert
Consider hiring a real estate attorney to review your contract and disclosures, especially if you encounter unusual terms or complex issues. This extra step can help safeguard against errors or oversights in legal paperwork.
Step 6: Conduct Inspections and Appraisals
Arranging home inspections
Schedule a professional home inspection after your offer is accepted. A qualified inspector will examine the structure, plumbing, electrical systems, and more, providing a detailed report.
Understanding appraisal process
If you’re using financing, your lender will likely require an appraisal to confirm the property’s value. Review the appraisal report closely and be prepared to discuss findings with your lender.
Responding to findings
Uncovering issues during inspection or appraisal may lead you to renegotiate the purchase price, request repairs, or in some cases reconsider the transaction entirely. Address each concern in writing.
Step 7: Closing the Transaction Independently
Coordinating with title and escrow
Work directly with your title and escrow providers to finalize required documents, verify funds, and meet deadlines. Stay in frequent communication to avoid delays.
Reviewing closing documents
Carefully review every document before signing, including the settlement statement, title transfer documents, and mortgage note (if applicable). Don’t hesitate to request clarification on any unfamiliar terms.
Final steps before move-in
Perform a last walkthrough to confirm the property’s condition and that any negotiated repairs were completed. After closing, collect all keys, codes, and essential documents from the seller.
Is Buying Solo the Right Choice?
Situations that favor DIY buying
If you’re detail-oriented, experienced with real estate transactions, or purchasing from a known party, handling the purchase on your own might serve you well. A simple, straightforward sale can also favor a solo approach.
Potential pitfalls and safeguards
Buying independently introduces risks like missing important disclosures or deadlines. Prioritize thorough research, double-check all paperwork, and use checklists to stay organized.
Seeking professional support if needed
Knowing when to bring in a professional—such as a real estate attorney, inspector, or title expert—can help you address complicated legal or financial situations and make sure you’re fully protected.